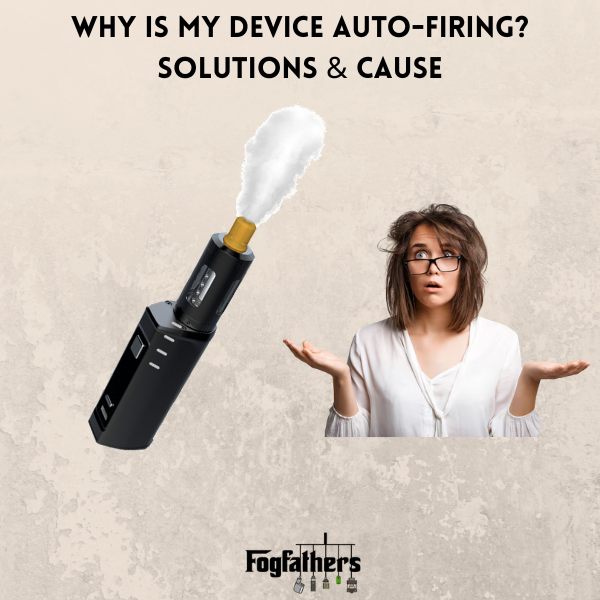
Why Is My Vape Auto-Firing? Why It Happens and How to Fix It
Auto-firing is one of the more alarming things that can happen with a vape. You're not touching it, not inhaling, and yet it's firing on its own. It can feel hot, taste burnt, and in some cases it won't stop until the battery drains or you physically disconnect something. If this has happened to you, you're not alone. It's a fairly common issue, and most of the time the cause is easy to identify.
This guide explains what auto-firing actually is, what tends to cause it, and what you can do to fix it or stop it happening again. It applies to most types of devices, including pod kits, box mods, and button-operated pens.
What Is Auto-Firing?
Auto-firing is when your vape activates without you pressing the fire button or inhaling. The coil heats up on its own. You might notice it through the device getting warm in your pocket, a hissing or crackling sound, a burnt taste even though you haven't taken a puff, or visible vapour coming from the device when it's just sitting on a surface.
It's worth taking seriously. Left unchecked, auto-firing can damage your coil, burn through your e-liquid, and in rare cases cause overheating. Most modern devices have cutoff protections built in, but that's not a reason to ignore it. Knowing the cause is the fastest way to fix it.
Common Causes of Auto-Firing
1. A Stuck or Jammed Fire Button
This is one of the most common culprits, especially on older or well-used devices. The fire button can get stuck in a partially pressed position, either due to physical damage, a dent in the casing, or residue building up around the button edges.
If your device has a fire button, press it a few times and see if it feels spongy, unresponsive, or slow to spring back. Sometimes just pressing it firmly several times in different directions frees it up. If it still feels wrong, the button mechanism may be damaged and the device should be retired or taken to a specialist.
2. E-Liquid in the Fire Button Area
Liquid leaks from the tank or pod are one of the leading causes of auto-firing in vape kits. If e-liquid seeps into the device housing and reaches the fire button contact, it can complete the circuit without you doing anything.
This is particularly common with button-operated kits if you've overfilled your tank, left the device lying flat with a leaky seal, or used a coil that's become damaged. If you notice your fire button feels sticky or damp, that's a sign liquid has found its way in. Clean around the button with a dry cotton bud, let the device air dry, and check your tank or pod for the source of the leak.
3. A Faulty or Dirty Firing Sensor (Inhale-Activated Devices)
Pod kits and many current devices from brands like Lost Mary and Vaporesso use an airflow sensor rather than a fire button. These sensors detect when you inhale and trigger the coil accordingly. They're generally reliable, but they can misfire.
Possible reasons include condensation inside the airflow channel, liquid flooding the sensor, lint or debris partially blocking the draw port, or the sensor simply becoming overly sensitive over time. If you're using an inhale-activated device and it's auto-firing, try gently blowing into the device from the top to clear any trapped liquid or debris. Let it sit upright for a few minutes and try again.
4. E-Liquid Flooding the Device
When a pod or tank leaks more substantially, e-liquid can travel further into the internal components. If it reaches the atomiser contacts or the main circuit board, the device can trigger a continuous firing cycle that won't stop on its own.
You'll often notice flooding before auto-firing starts, in the form of a gurgling sound when you inhale, liquid in your mouth when you take a puff, or visible wetness around the base of the pod or tank. Sorting a leak early stops it turning into a bigger problem.
5. Battery or Chipset Issues
Less commonly, the problem lies in the battery or internal chipset rather than any physical component. A failing battery, particularly one that's been overcharged or used past its useful life, can behave erratically. Similarly, internal chipset failures can cause incorrect firing signals.
This is harder to diagnose without specialist tools, but if your device is older, has had a hard knock, or has been used with a low battery for extended periods, the electronics could be compromised. If no other fix resolves the issue, this is likely where the problem sits.
Quick Comparison: Auto-Firing by Device Type
| Device Type | Most Likely Cause | First Step |
|---|---|---|
| Button-operated mod or kit | Stuck or wet fire button | Press and clean the button |
| Pod kit (inhale-activated) | Flooded airflow sensor | Blow out the airflow, sit upright |
| Older device or mod | Battery or chipset fault | Check battery condition |
| Leaky tank setup | Liquid in button or sensor | Identify and fix the leak source |
| Drop-damaged device | Dented button or loose connection | Inspect casing and contacts |
How to Fix an Auto-Firing Vape
Step 1: Disconnect the power immediately
If your device is auto-firing and won't stop, the first thing to do is remove the battery if your device allows it, or power it off using the five-click method common to most regulated mods. Do not leave it unattended while it's firing continuously.
Step 2: Check the fire button
Press it several times. Look for any visible damage, stiffness, or stickiness. If it's a button-operated device, try pressing firmly around the edges of the button. A small amount of residue can be enough to cause a partial connection.
Step 3: Clean around the button and airflow port
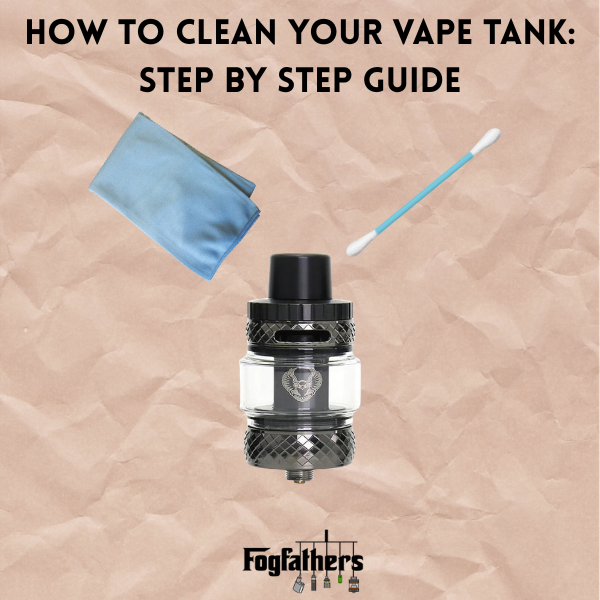
Use a dry cotton bud to clean around the fire button, the 510 connection, and any airflow inlet. If liquid is present, let the device dry completely before reassembling and testing. Do not use water.
Step 4: Check the tank or pod for leaks
Remove the tank or pod and inspect the seals and O-rings. A cracked or poorly seated seal is a common source of leaks. If your coil is old or saturated, replace it. A fresh coil with a properly fitted pod or tank will often resolve flooding issues entirely.
Step 5: Test with a clean, dry device
Once you've cleaned and dried everything, reassemble and test. Take one short puff or press the fire button briefly. If the auto-firing continues, the fault is likely internal and the device should not be used until it's inspected or replaced.
Can You Prevent Auto-Firing?
Yes, in most cases. It usually comes down to a few basic habits.
- Store your device upright when not in use. Flat storage encourages liquid to pool in the wrong places.
- Don't overfill tanks or pods. Always stay at or below the max fill line.
- Clean your device regularly, especially around the fire button and airflow ports.
- Replace coils before they become fully saturated or start leaking.
- Avoid carrying your device loosely in a pocket with keys or coins. Physical pressure can depress the fire button.
- Check your battery condition periodically, especially if you use removable 18650 or 21700 cells.
Most of the causes above are avoidable with a bit of regular maintenance. Ten minutes a week cleaning your device and checking the seals goes a long way.
When Should You Stop Using the Device?
There are a few situations where it makes sense to stop using the device entirely rather than trying to fix it yourself.
If the device has been physically damaged in a fall or impact, the casing may be putting pressure on internal components. If the battery shows signs of swelling, venting, or discolouration, do not use it. If auto-firing continues after you've cleaned and dried the device thoroughly, the chipset may be faulty. And if the device becomes very hot during an auto-firing episode, treat it as a potential safety issue and don't attempt to fix it at home.
When it comes to vape kits, most faults in entry-level and mid-range devices are not worth repairing given how accessible replacement kits are now. If a device is more than a year old and showing signs of electrical faults, getting a new one makes more sense than chasing the fault.
A Note on Inhale-Activated Pod Kits
Inhale-activated kits like many of the pod systems in the current market work well day to day, but they do need a slightly different approach to maintenance. Because there's no button to worry about, the most common auto-firing issue is sensor contamination.
Keeping the airflow path clear and avoiding overfilling are the two most effective preventative steps. If your pod kit starts auto-firing during normal use and you haven't changed anything, check for liquid in the pod seat. A small amount of condensation or leaked liquid around the pod base is often enough to cause the sensor to trigger incorrectly.
Should You Stop Using Your Vape the Moment It Auto-Fires?
Not necessarily. A single auto-fire event, especially on a first-time use or after a refill, is often just sensor contamination or a small pocket of liquid where it shouldn't be. It's worth investigating before assuming the device is broken.
Repeated or continuous auto-firing is a different matter though. If it's happening regularly, something in the device needs attention. Repeated auto-firing accelerates coil wear, wastes e-liquid, and puts unnecessary stress on the battery. Ignoring it will shorten the life of the device and could lead to something more serious if the root cause is a failing battery or damaged chipset.
Time to Sort It Out
Most auto-firing issues trace back to three things: the fire button, the airflow port, or the pod and tank seal. Start there. Work through the checks one at a time. If the problem clears up, great. If it's still happening after you've cleaned and dried everything, the fault is likely internal and the device needs replacing rather than patching.
Have a look at the vape kits at Fogfathers if you need something new. There's a good range across price points, from simple pod kits to box mods, with fast UK delivery on all orders over £20.


Leave a comment
This site is protected by hCaptcha and the hCaptcha Privacy Policy and Terms of Service apply.